Project Details
DATE
December 13th, 2017
VEHICLE
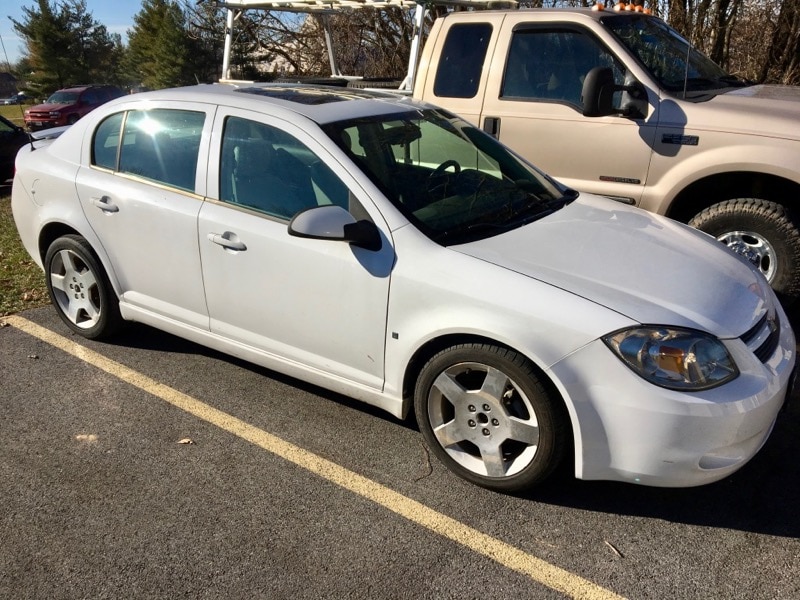
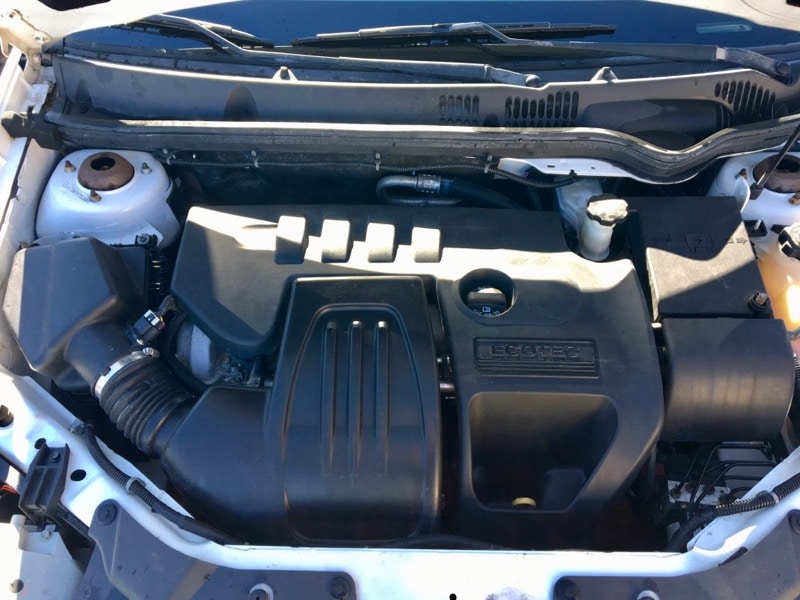
2009 Chevrolet Cobalt
PROJECT TYPE
Repair
Chevrolet Cobalt Repair – Back on the Road
This repair was part of our Back On the Road 2017 program where we selected several local veterans to provide automotive services at no charge.
Our forth veteran drives a 2009 Chevrolet Cobalt. He is a 6 year veteran of the Air Force. After completing his service to our country, he has enrolled in a local college and studies criminal justice.
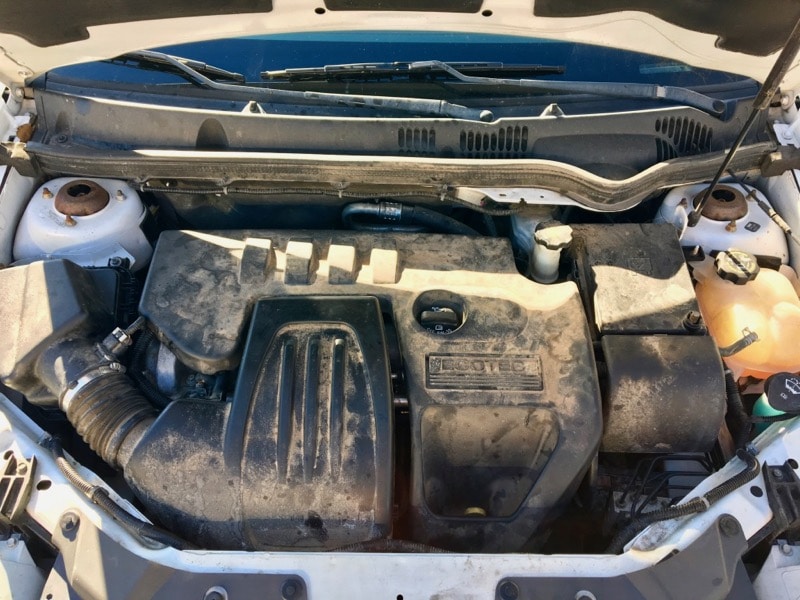
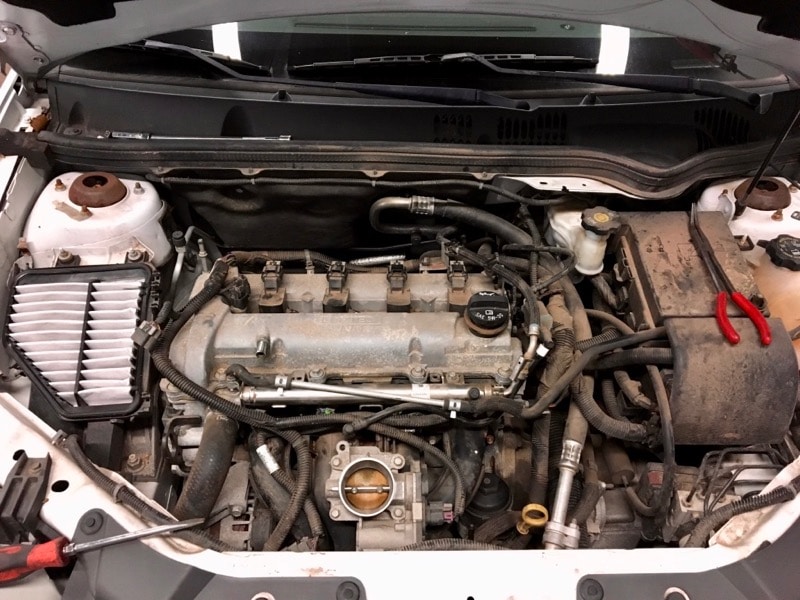
Recently, he has experienced the check engine light coming on, accompanied by ABS light and Traction Control light. We started by scanning the computers for codes. We found a p0300 random cylinder misfire, p0301 cylinder 1 misfire, and p0302 cylinder 2 misfire. The codes in the engine computer were causing the ABS and Trac lights to come on. These other two lights come on because these systems rely on data from the engine. When these other system sense there is a problem they go into a safe mode. Fixing the engine problem will fix all three lights.
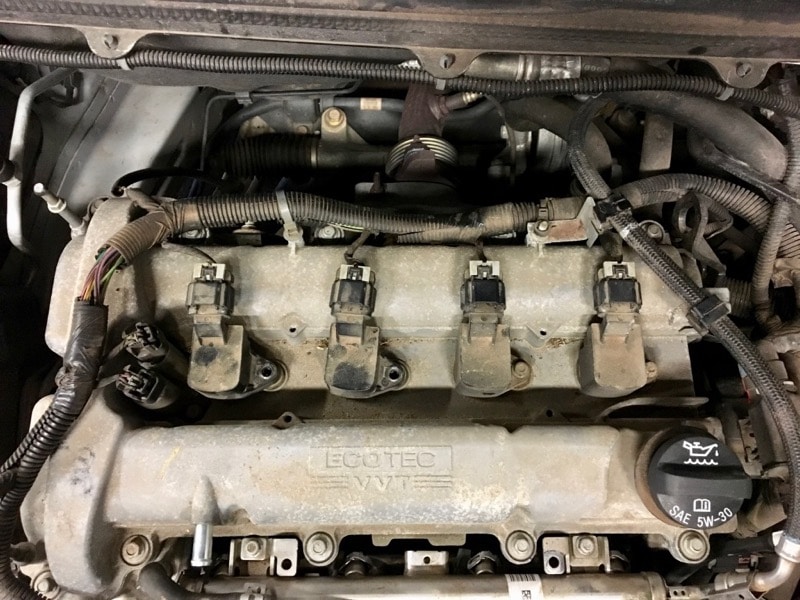
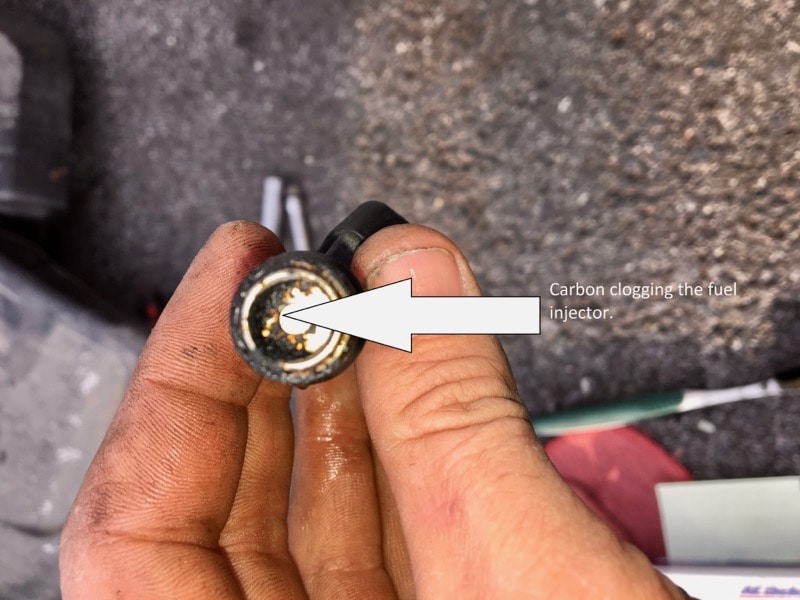
Once we knew that we were trying to find a misfire, we swapped cylinder 1 spark plug and coil with cylinder 4. Test drove car and misfire stayed on cylinder 1, which means the problem was not the spark plug or coil. Next we swapped number 1 fuel injector with cylinder 4. When we had the fuel injector removed we found it clogged with carbon. We were confident we had found the problem. Test drove car and misfire stayed on cylinder 1. Although the fuel injector was clogged, it was not the cause of the misfire. Now we had to go more in depth to find the cause. Next we ran a running compression test on all cylinders. Number 1 was 70 psi, Number 2 was 87 psi, Number 3 was 98 psi, and Number 4 was 96 psi.
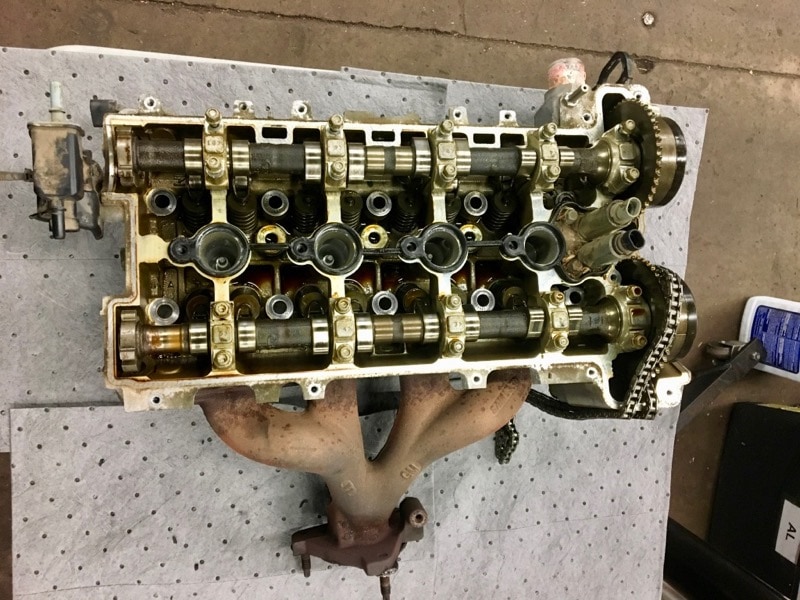
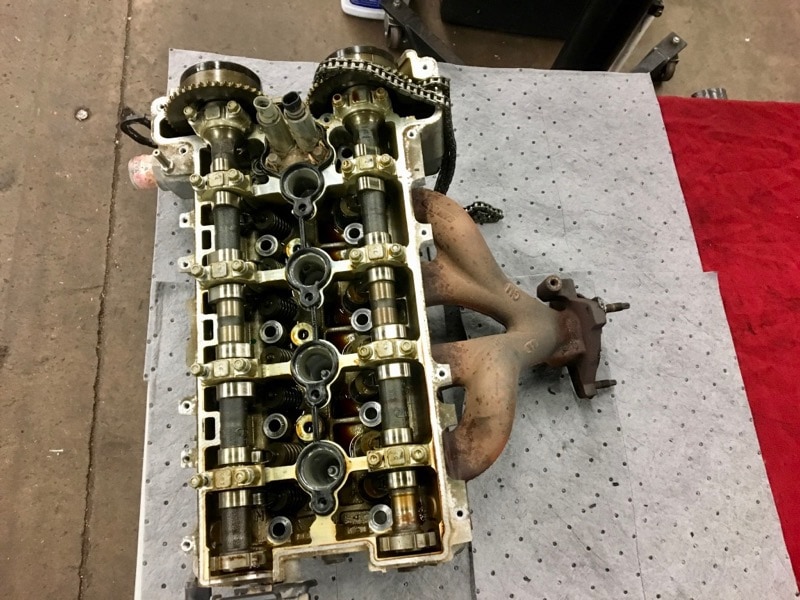
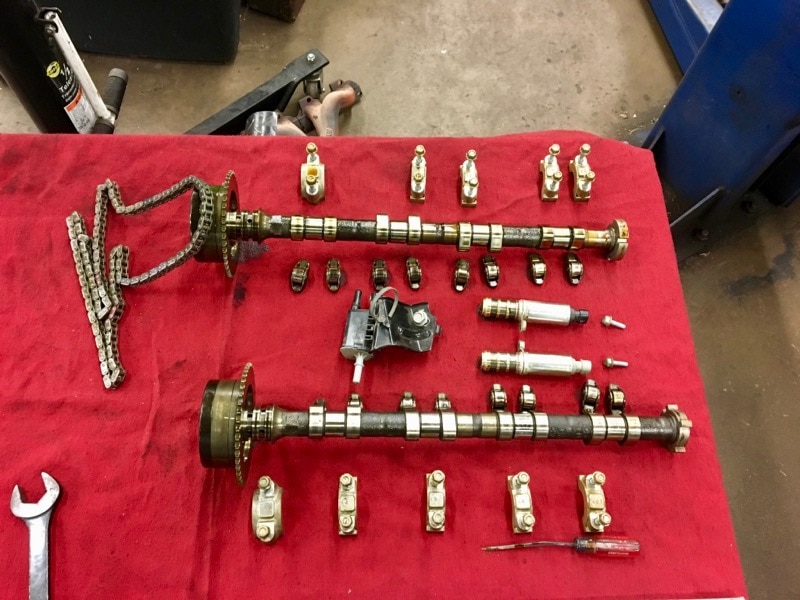
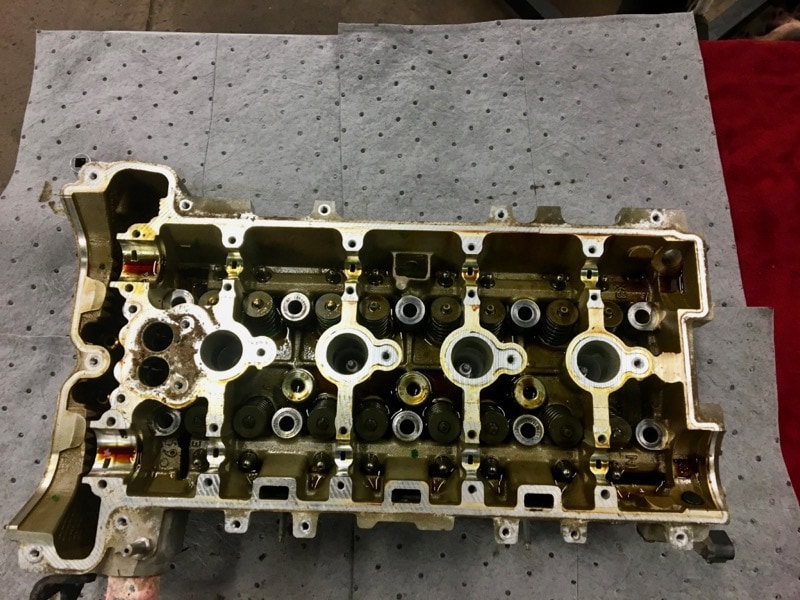
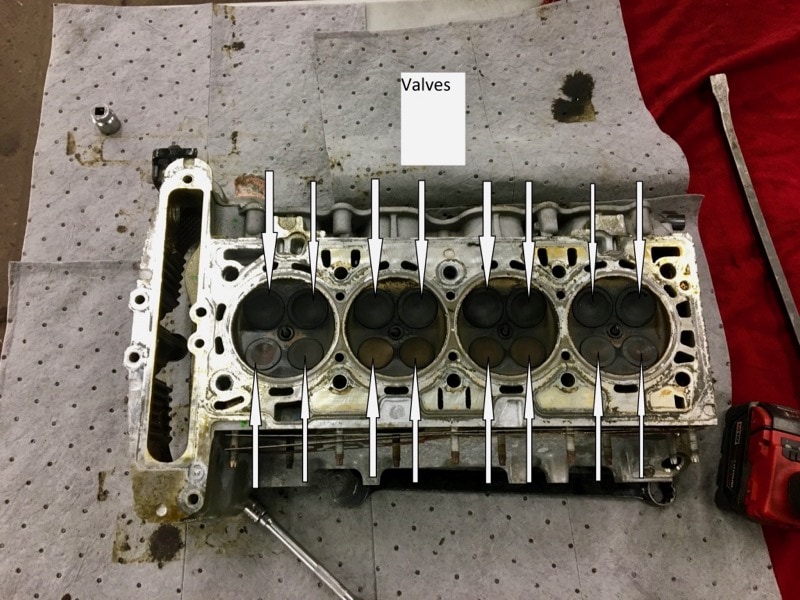
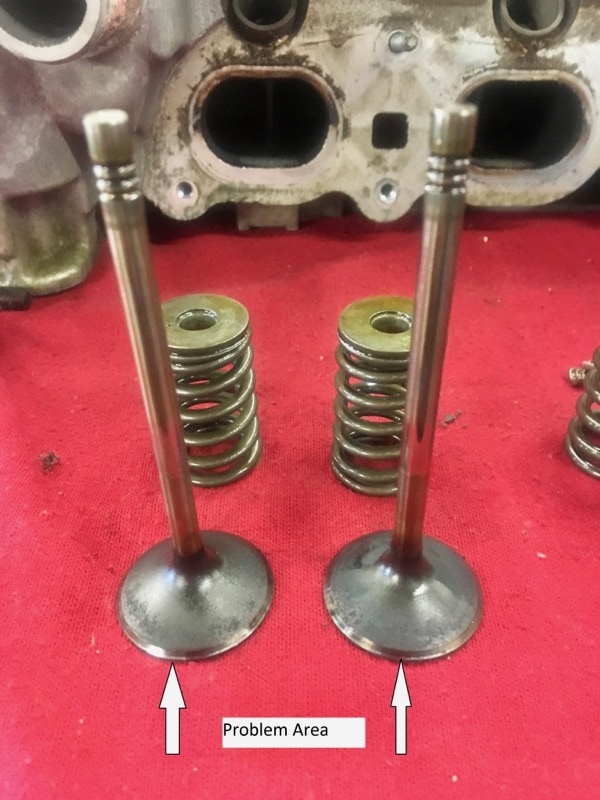
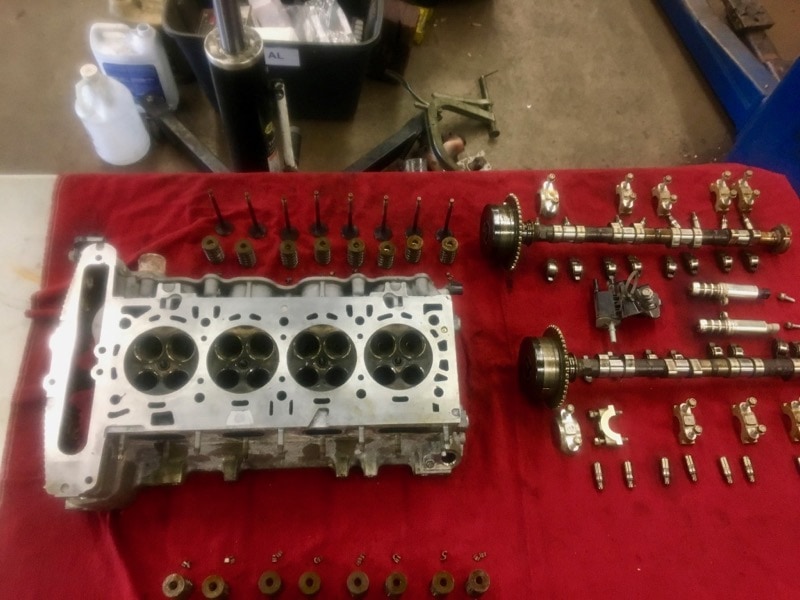
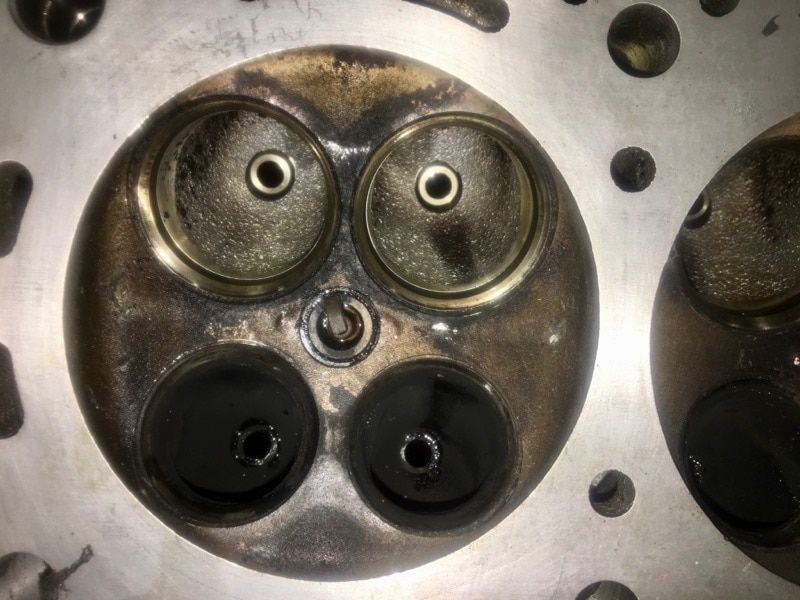
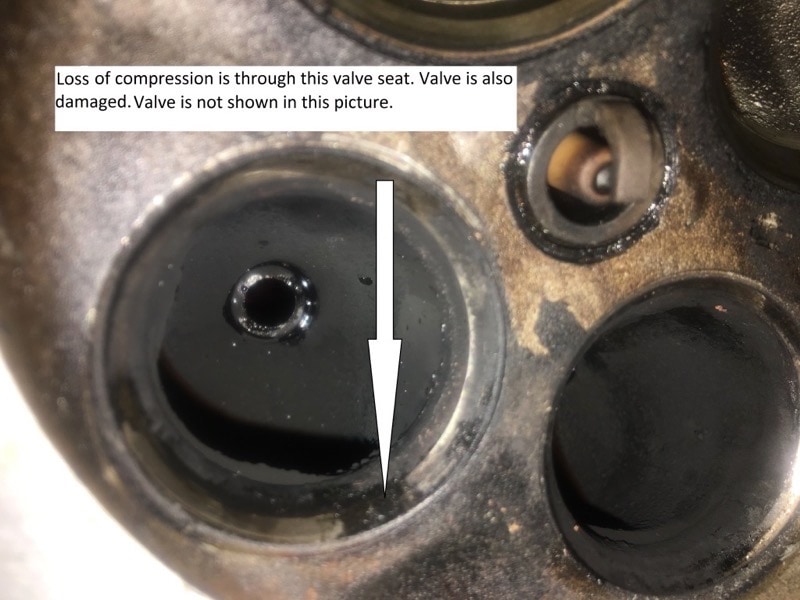
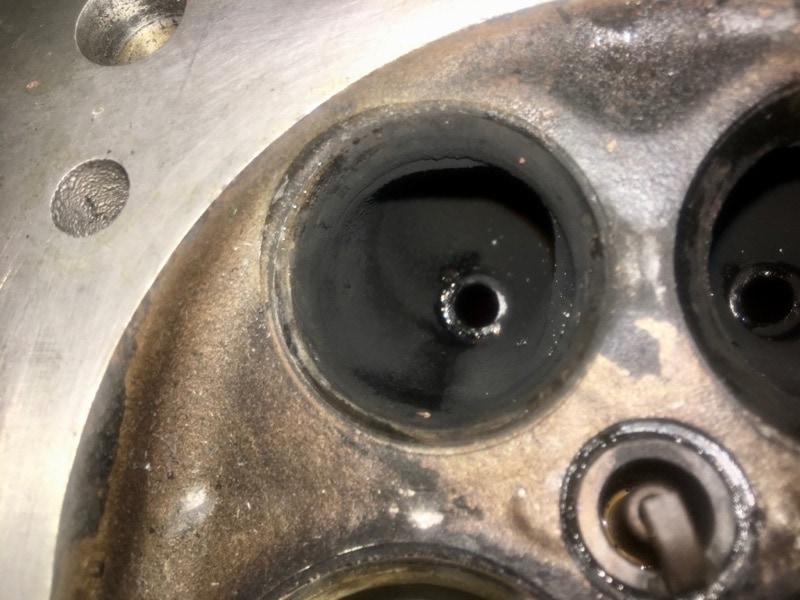
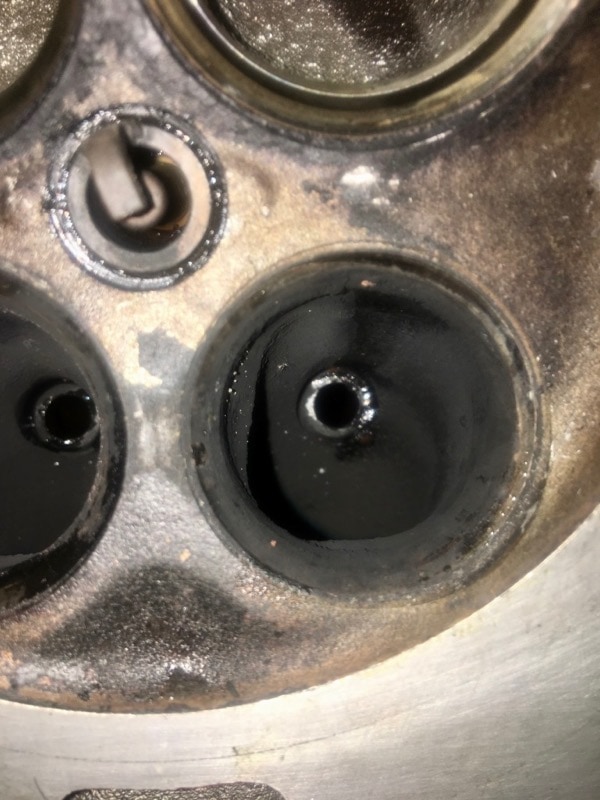
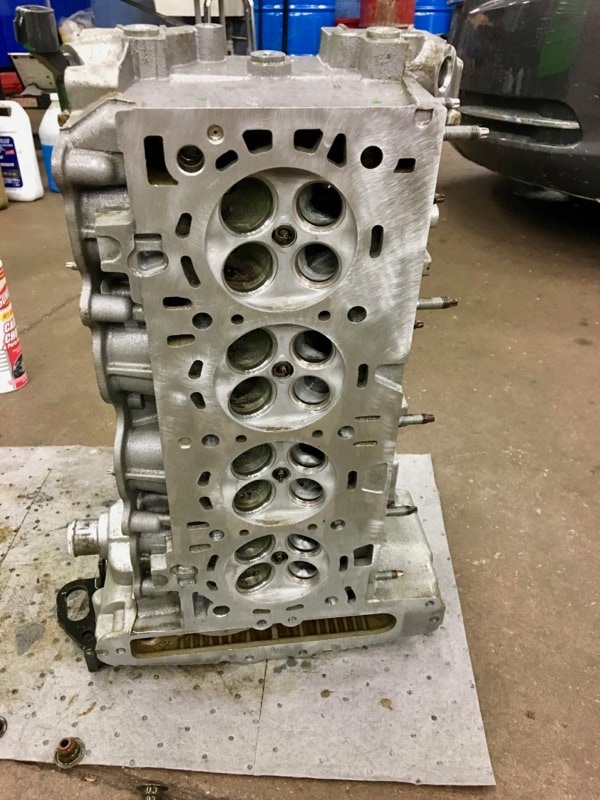
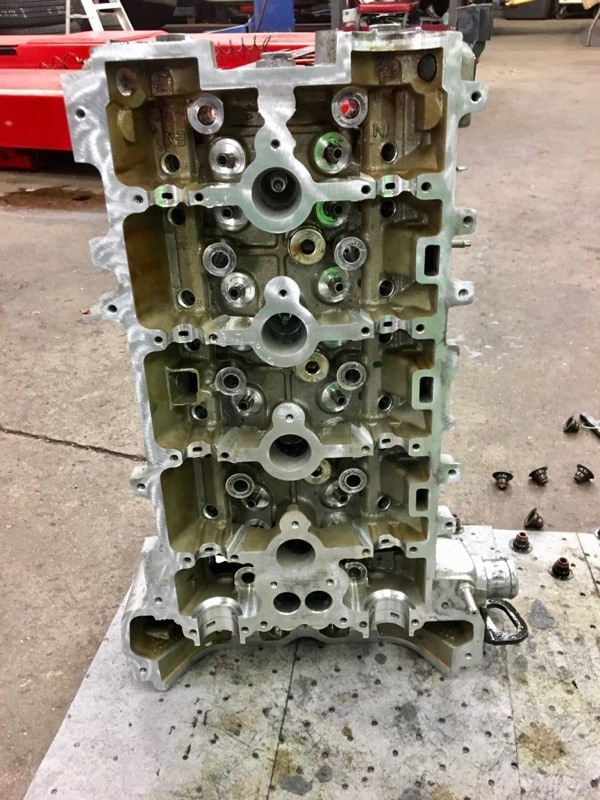
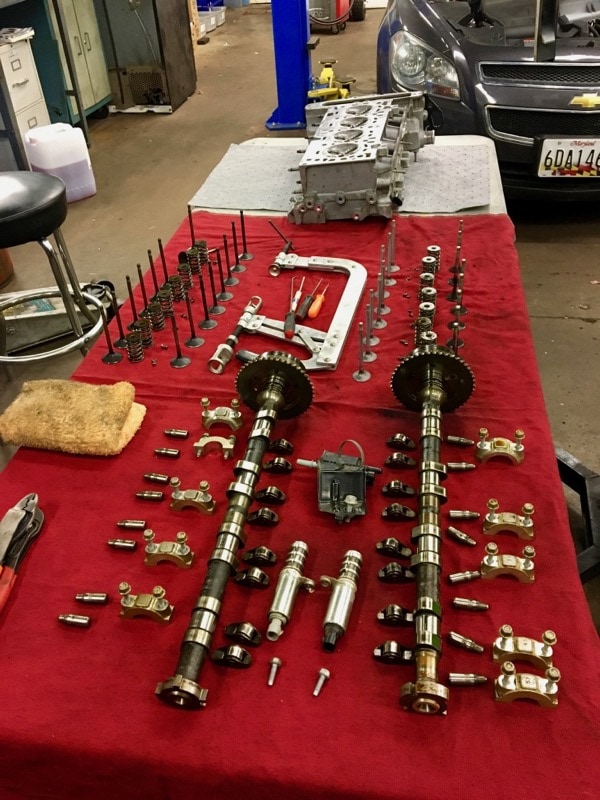
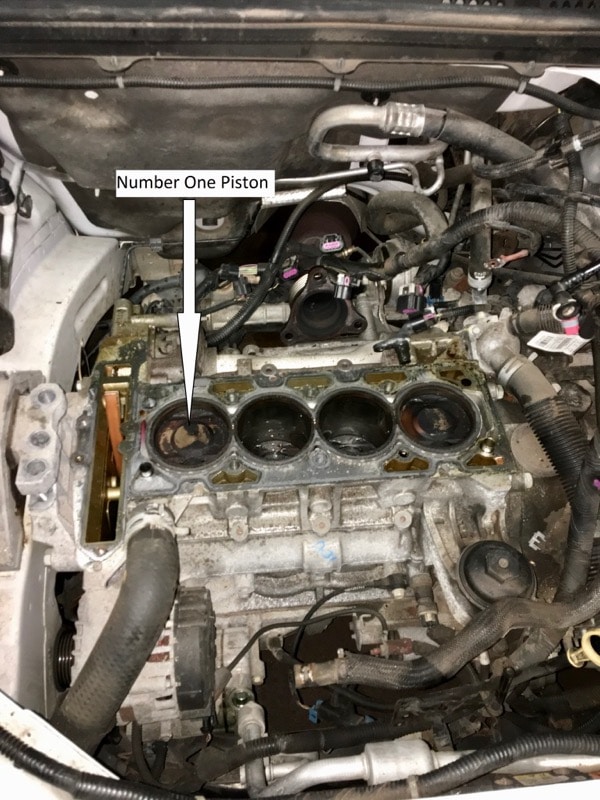
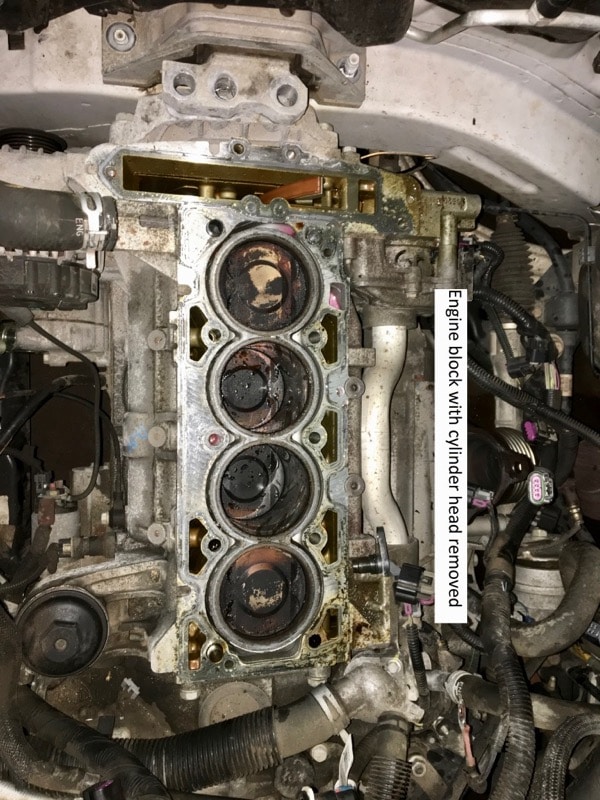
With these readings we now know there is an internal issue in the engine. Next test we ran was a cylinder leak down test. We remove the spark plug and injected metered air into the cylinder. We should see that the cylinder holds pressure. On cylinder 1 and 2 we were losing air pressure and we could hear it leaking out of the exhaust. This told us there was a problem with the exhaust valves and the engine would need to be torn down. Once the cylinder head was removed, we filled each port with water as seen in video. This is done because most problems with valves you cannot see by eye.
In the video you can see cylinder one port losing water and leaking out of exhaust port.
Here it is testing the repair.
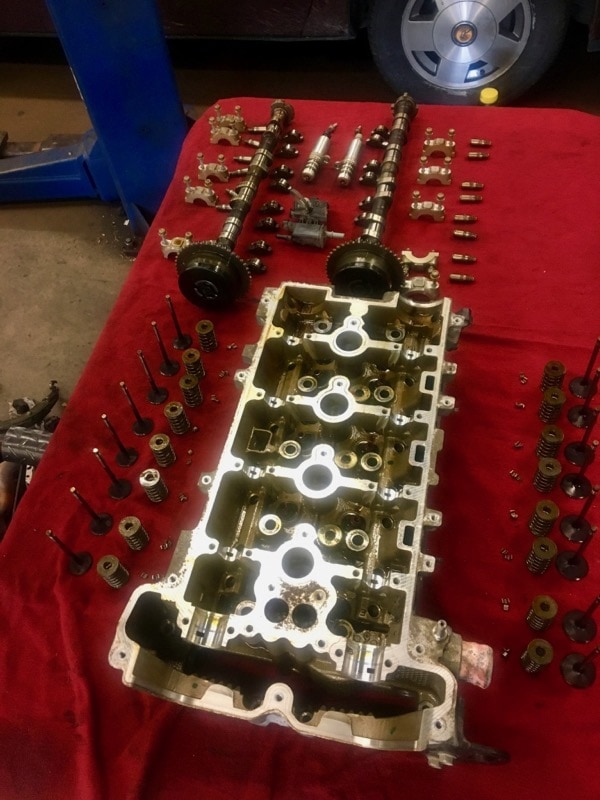
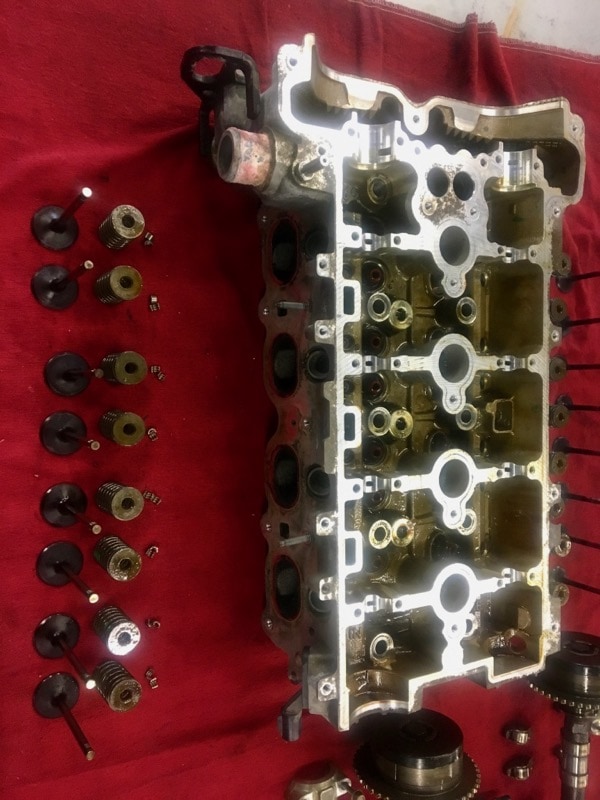
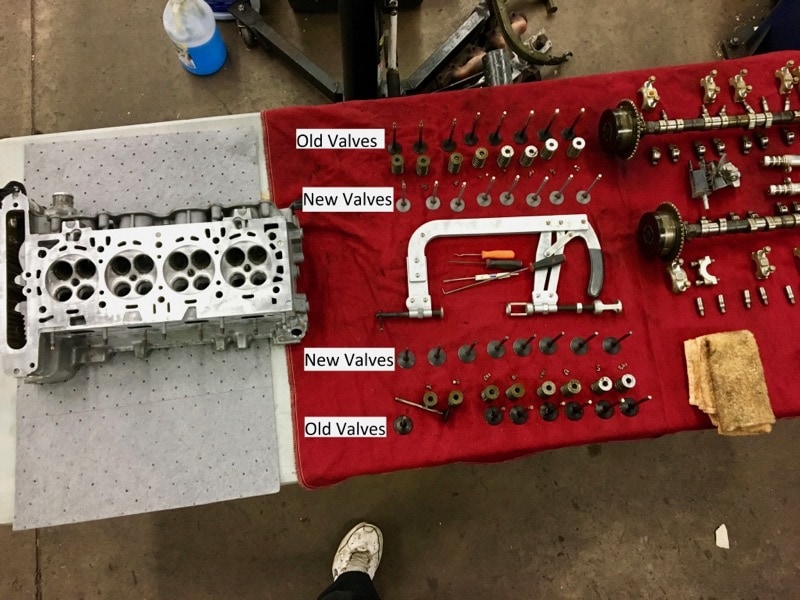
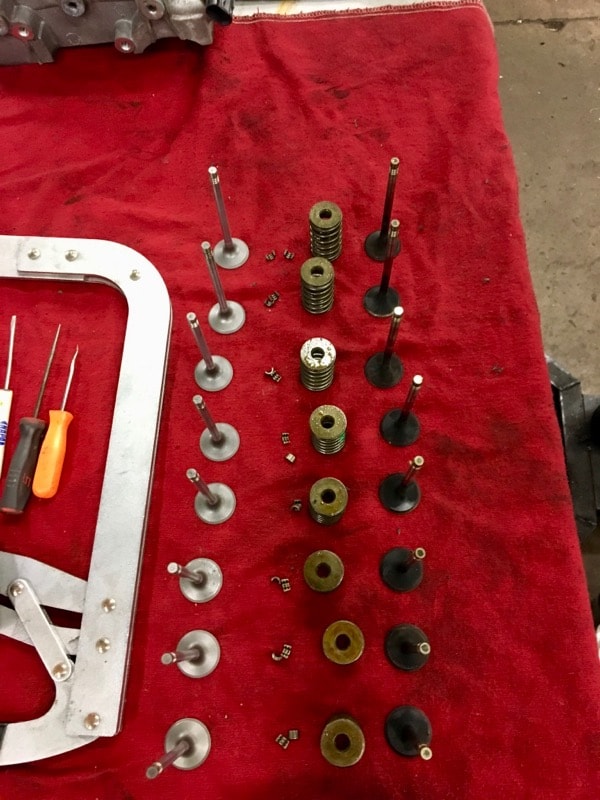
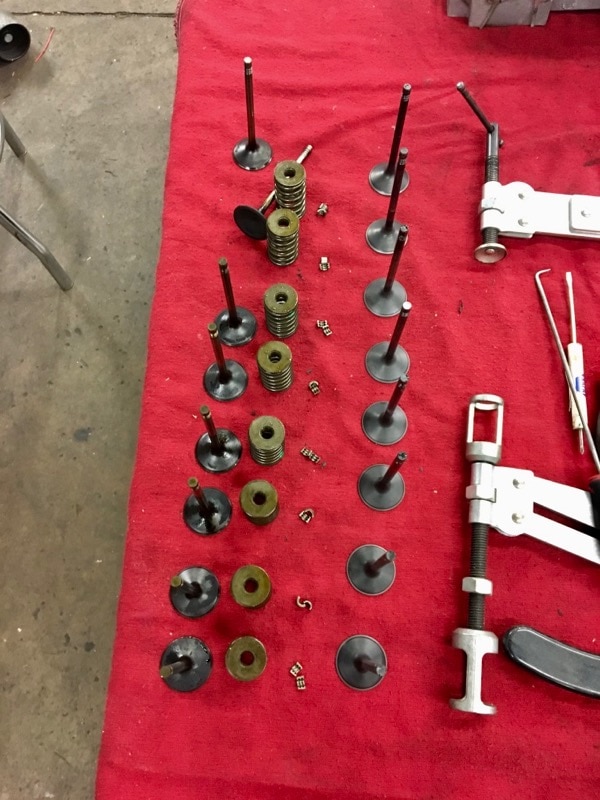
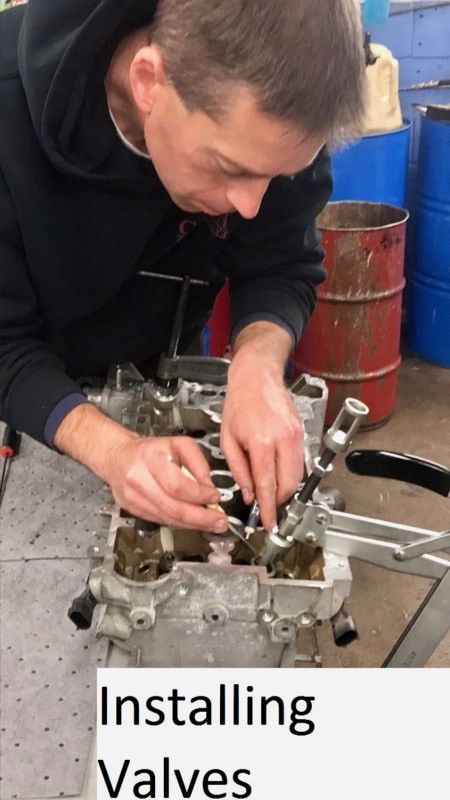
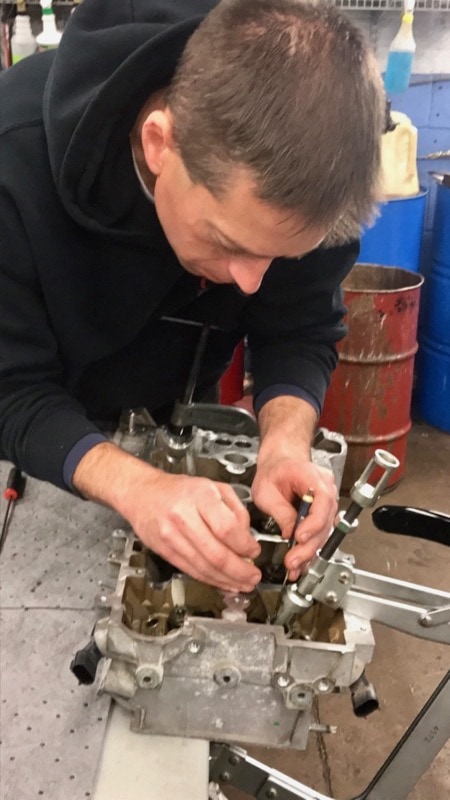
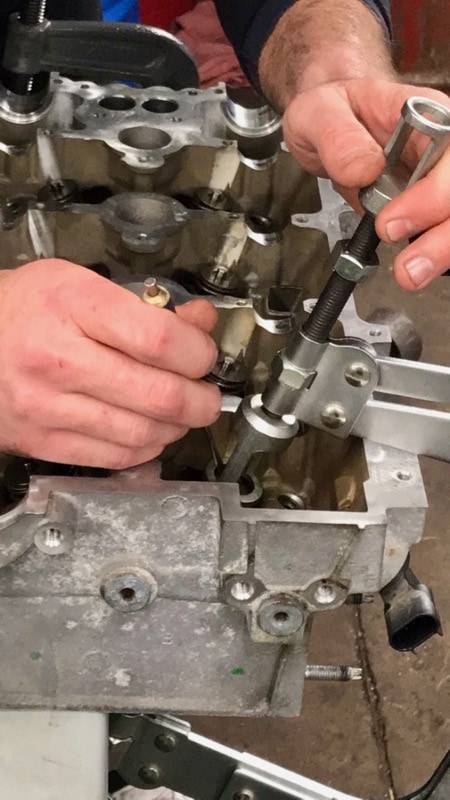
Cylinder 2 did not show any signs of leakage. Since it is so involved to remove cylinder head we decided to replace all valves both intake and exhaust. We would strongly recommend this if the decision was up to the customer, but since we were making the decisions on this job that’s the route we took.
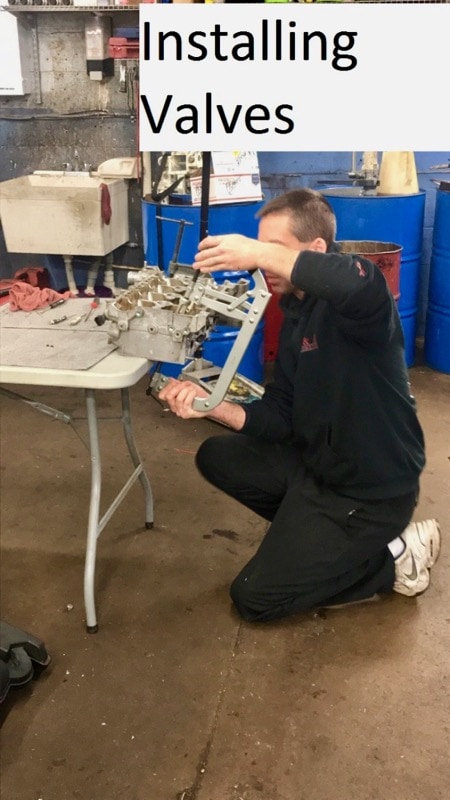
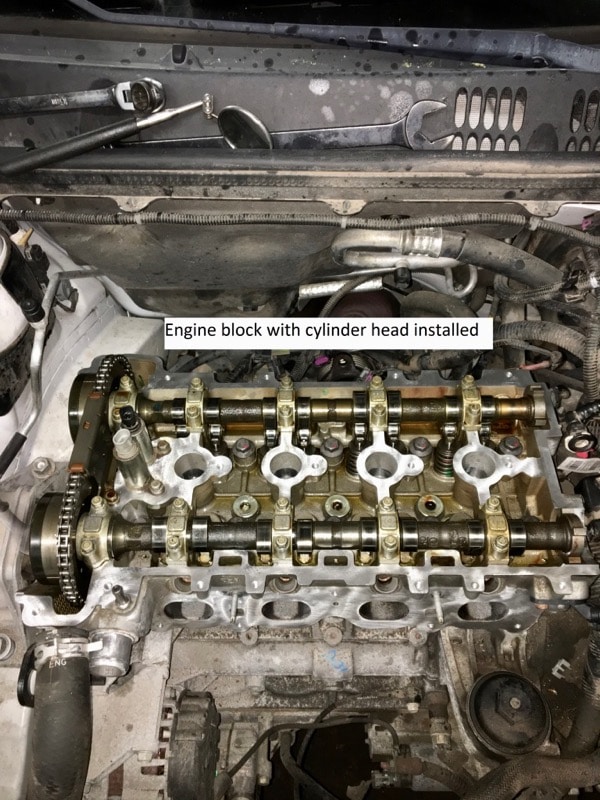
We replaced all 16 valves and reassembled the engine with all new gaskets and a new serpentine belt. Before we started the car we changed the oil. After a good test drive and verified the repairs took care of misfire and check engine light, we changed the oil again. The second oil change was a safety measure in case any dirt or debris had gotten into engine during repairs. Before delivery of vehicle back to our veteran we also replaced the driver’s side headlight bulb and gave the car a bath.
Our fourth veteran is now back on the road!

